


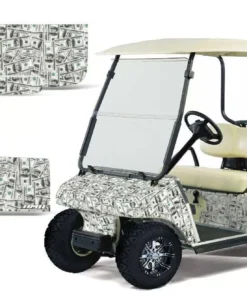

Graphics Kit Decal Sticker For Club Car Golf Cart 1983-2014 BALLIN
Transform your Club Car Golf Cart (1983-2014) with the premium BALLIN Graphics Kit Decal Sticker. Designed for easy installation and a custom, sporty look, this decal set is the ideal way to upgrade your golf cart’s appearance. Whether you’re cruising the course or taking a ride through your neighborhood, the BALLIN graphics add a unique, bold touch that will turn heads wherever you go.
Key Features:
-
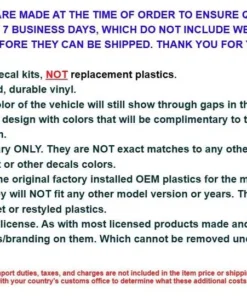
Perfect Fit: Specifically designed for Club Car Golf Carts (1983-2014) for a seamless and professional installation.
-
Durable & Weather-Resistant: Made with high-quality vinyl that can withstand the elements, ensuring long-lasting performance.
-
Bold & Vibrant Design: The BALLIN graphics are eye-catching, enhancing your cart with a modern, sporty look.
-
Easy Installation: Self-adhesive decals that are easy to apply and remove without leaving residue or damaging your cart’s finish.
-
Customizable: Choose your favorite design to match your personal style and make your golf cart truly one-of-a-kind.
Whether you’re looking to give your golf cart a fresh, personalized look or just want to stand out from the crowd, the BALLIN Graphics Kit is the perfect choice. Bring your Club Car Golf Cart into the spotlight and enjoy the perfect combination of style, durability, and easy application.
This SEO-optimized description includes targeted keywords like Club Car Golf Cart, Graphics Kit Decal Sticker, BALLIN, and model years (1983-2014) to ensure search engine visibility while highlighting the key features and benefits of the product.


Reviews
There are no reviews yet.